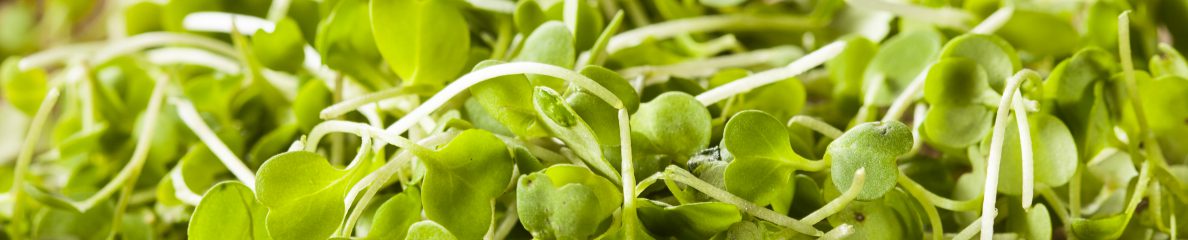
Have you ever wanted to grow your own microgreens? Then this is the guide for you!
Maybe you want to grow microgreens to sell at your local farmers’ market or restaurant. Or, you are a teacher and think it would be cool to show your students how easily you can plant and grow your own food. Or, you would just like to grow microgreens at home because you enjoy the fresh, BIG flavor these fast-growing baby greens pack!
At RVA Microgreens, we have done all the research and have tested the best methods to grow. Heck, we grow microgreens ourselves! Now, we want to share all of our hard work with you in an easy-to-read guide on how to grow microgreens organically and without pesticides!
This guide will teach you:
- What crops are easiest to grow to gain your confidence as a grower!
- What type of growing tray should you use for microgreens?
- What soil should you use?
- How to start your seeds? (Learn the secret to not have spindly greens!)
- What grow lights should you use?
- How much light do you give your microgreens?
- How often should you water microgreens? (THIS will surprise you!)
- What is the easiest and fastest way to harvest?
- What is the key to ensure your microgreens last after you harvest?
Over 125 hours of research and trials packed into this easy-to-read guide!
What supplies do you need to grow microgreens?
Like we mentioned, there are several ways you can grow microgreens. In this guide, we are going to focus on the easiest method that we found so you are successful with your first crops! See below for a list of everything you need along with some optional items which are marked with an asterisk (*).
Shopping List with links:
- One (1) seedling heat mat: Link
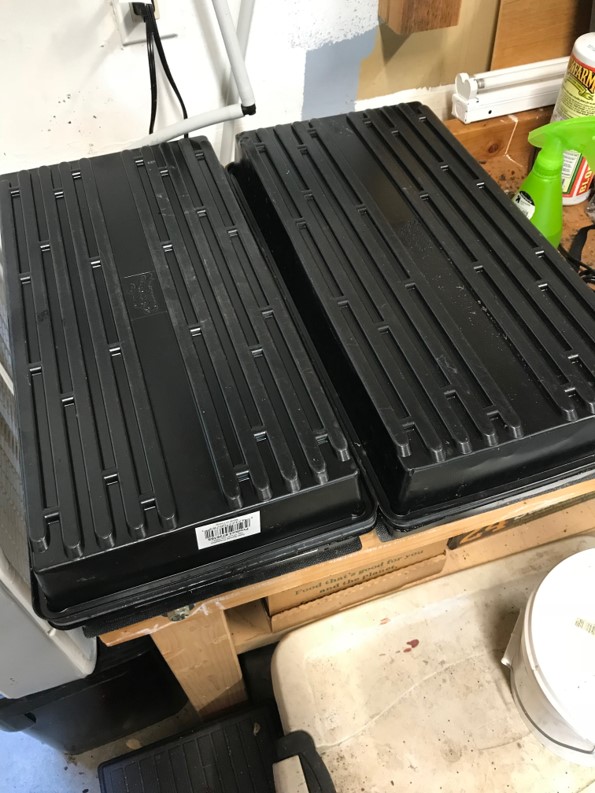
- Pack of five (5) no-hole plastic shallow trays: Link
- Pack of ten (10) no-hole growing tray: Link
- One (1) bag of FoxFarm potting soil: Link
- One (1) high output grow light, fluorescent*: Link
- One (1) digital time with single outlet*: Link
- One (1) shelf or shelving system to set your trays*: Link
- One (1) pack of Red Russian kale microgreen seeds: Link
- One (1) seed shaker or empty seasoning bottle: Link
- One (1) spray water bottle: Link
*Optional items:
- Grow light: If you have a fluorescent light similar to the size linked in the guide, you should be able to use it for your first grow. Just keep in mind if you want to expand your indoor garden that you may want to invest in a grow light.
- Timer: The timer is nice so you don’t have to remember to turn your grow light on and off.
- Shelving system: This is not necessary especially if you have a spot that you can set your tray(s) and hang a light.
STEP #1:
Pick your grow space. A nice, sturdy workbench in the garage will do if it is heated. If you purchased the shelving unit, put it together in your designated grow space.

Tip: Store your potting soil in an air tight storage container to retain its moisture. Pick a container that has handles to make it easier to move.
STEP #2:
Plug the heat mat in and place the shallow grow tray on top of it. Scoop the soil into the tray so that it is level with the top or lip of the tray.

Tip: If your soil is a bit dry, add just enough water that you can make a ball of it with your hands.
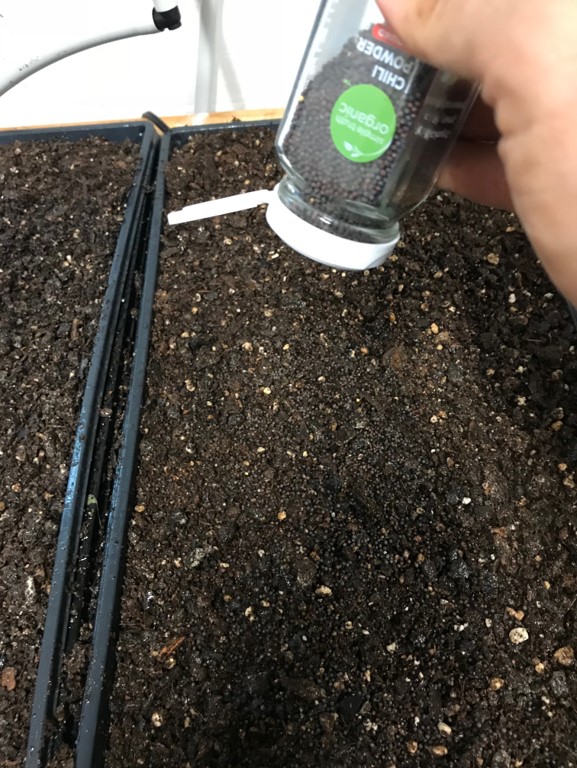
STEP #3:
Fill your shaker with your seeds. You should be able to seed two 10” x 20” trays with approximately 2.5 ounces of the kale or your preferred microgreen seeds.

Tip: Don’t buy a shaker! Reuse a spice shaker that you might already have in your cupboard. Just make sure the holes on the shaker are similar to the one pictured and you clean it before using! This was an old Chile powder container.
STEP #4:
Shake the seeds onto the soil. Work your way in rows across the tray similar to how you would mow the lawn. This ensures even distribution of seed.
Tip: Mist your soil before you seed! This makes the soil “sticky” so that the seeds don’t bounce off the dry patches of dirt.
STEP #5:
Continue to shake the microgreen kale seeds onto the soil until you see an even distribution similar to the photo.

Tip: Don’t overthink how much seed to put down. It’s almost like an art that takes practice.
STEP #6:
Take one of the growing trays and mist the bottom of it. This will be the cover of your tray that has the soil and seeds.

Tip: Mist the tray lightly. You don’t need a whole lot to create the humid environment seeds love.
STEP #7:
Place the tray you misted on top of the seeded tray so that it encloses your seeds. This creates a dark, humid environment your seeds love!
Tip: When you get comfortable with this process, seed at least two trays at a time to increase production efficiency.
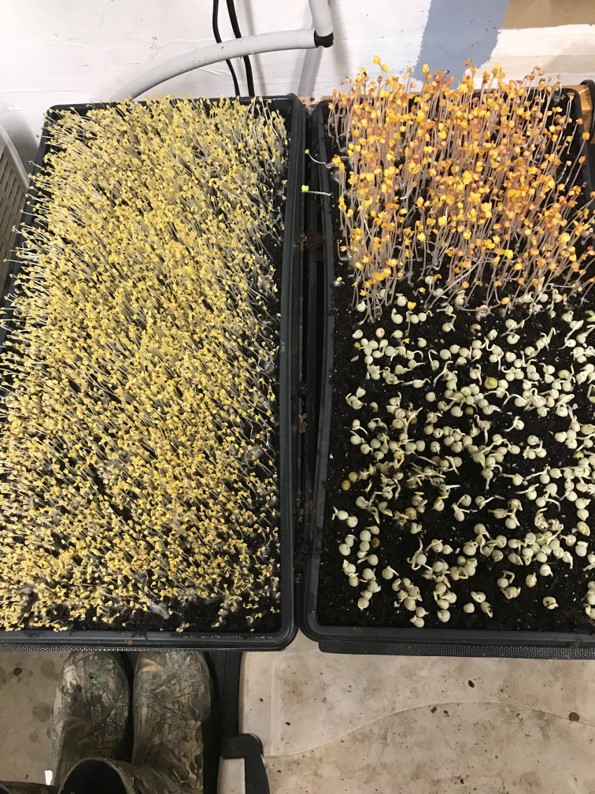
STEP #8:
Leave the seeds covered for 3 days (36 hours). After 36 hours, check to see how your microgreens sprouted! They should look yellow and about 2 to 3 inches tall!
Tip: Check your seeds once per day to ensure the lid on your tray is creating a nice damp environment. If it seems dry, mist the lid/grow tray.
STEP #9:
Place your trays in a spot where your seedlings will receive at least 8 hours of direct sunlight or 12 hours of artificial light (i.e. grow light) and the average temperature is between 70 and 80 degrees Fahrenheit.
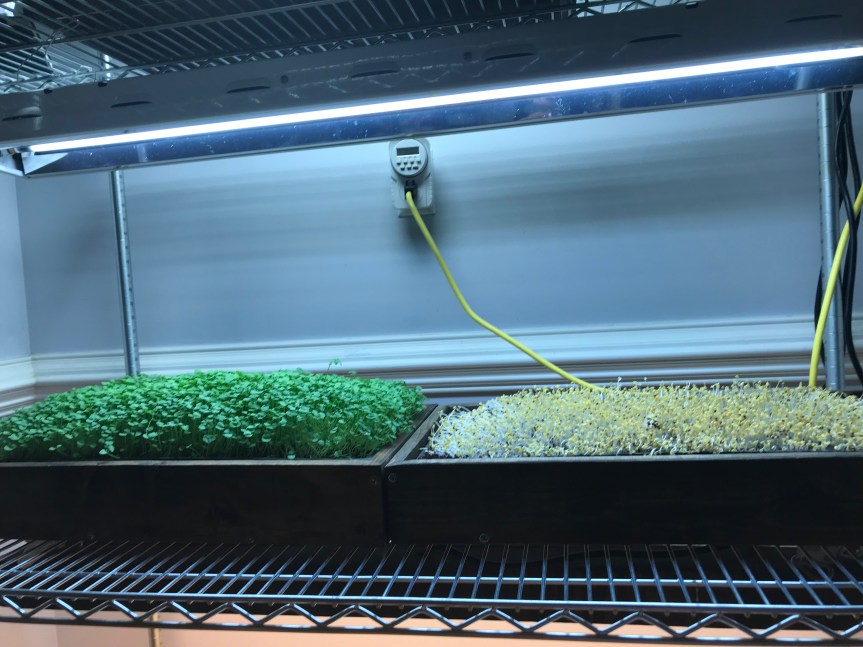
Tip: If you are using a grow light, purchase a timer with an outlet. This way you can program the on and off times of your light so you don’t have to manually turn lights on and off.
STEP #10:
Water your microgreens every 2 to 3 days if needed. Stick your forefinger into the soil about the depth of your nail. If the soil feels damp, you don’t need to water. If the soil feels dry, go ahead and gently water evenly across the entire tray.
After 7 to 10 days, you can harvest your microgreens with scissors or a sharp knife. Cut the greens right above the soil level .

Tip: Using a sharp butcher knife is the fastest way to harvest microgreens. Grab the tops of the microgreens and gently pull them tight. Carefully cut approximately 1/2 inch above the soil to harvest.
STEP #11:
Store your harvested microgreens in an air tight container like Tupperware or clamshell containers similar to what is pictured.
Store the containers of microgreens in a refrigerator. It is best to consume microgreens within 5 to 7 days after harvest. Enjoy!

Tip: Immediately after harvesting your microgreens, put them in a refrigerator to extend their taste and crispness. If you are selling your harvest, we found clamshells present a professional appearance.
We hope you find this guide helpful and it launches your indoor growing career! Please visit RVA Microgreens for more grow guides and tips.
