How to Grow Microgreens at Home

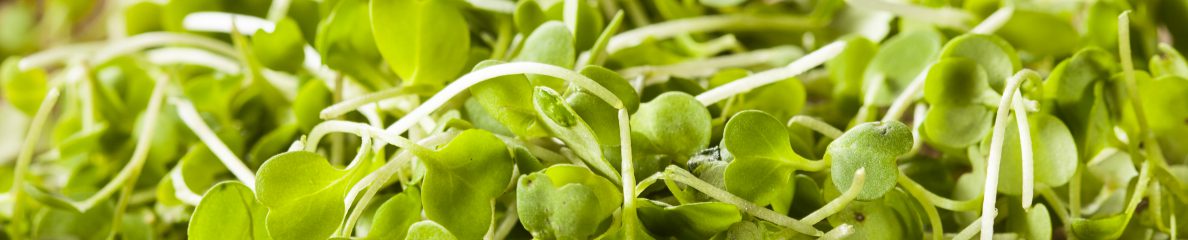
Have you ever wanted to grow your own microgreens? Maybe you want to grow microgreens to sell at your local farmers’ market or restaurant. Or, you are a teacher and think it would be cool to show your students how easily you can plant and grow your own food. Or, you would just like to grow microgreens at home because you enjoy the fresh, BIG flavor these fast-growing baby greens pack!

So you decided you want to grow microgreens (congratulations!) and have started researching the world wide web, internet, Google, Facebook, Instagram and everything else out there……whoa! There is A LOT of information to read and go through to learn how to grow microgreens. (I thought this was going to be easy?)

Do you have time to read all the information? And, do you have time to figure out what seeds to buy, which grow supplies you really need and where to buy it all? After you spend all your TIME and MONEY, are you confident that the resource you chose will actually work?

At RVA Microgreens, we have done all the research and have tested the best methods to grow.  Heck, we grow microgreens ourselves! Now, we want to share all of our hard work with you in an easy-to-read guide on how to grow microgreens.  This guide will teach you:

  • What crops are easiest to grow to gain your confidence as a grower!
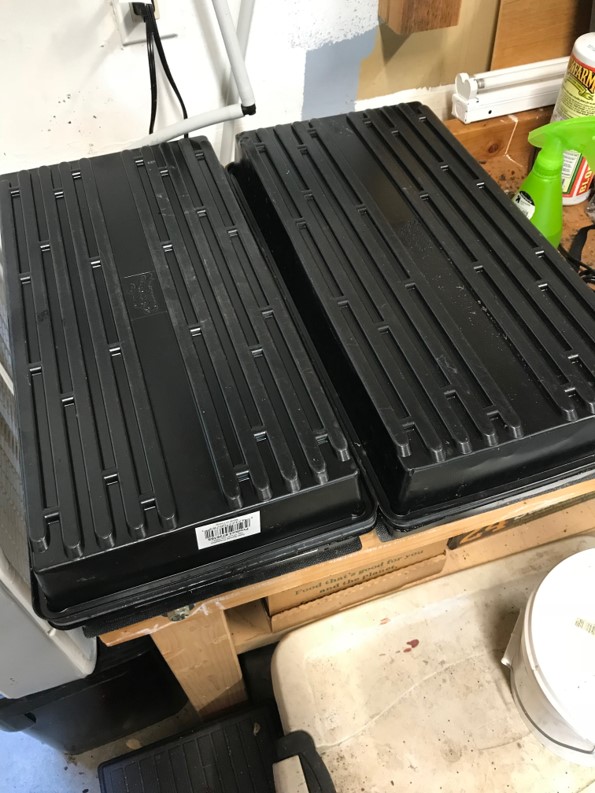
  • What type of growing tray should you use for microgreens?
  • What soil should you use?
  • How to start your seeds? (Learn the secret to not have spindly greens!)
  • What grow lights should you use?
  • How much light do you give your microgreens?
  • How often should you water microgreens? (THIS will surprise you!)
  • What is the easiest and fastest way to harvest?
  • What is the key to ensure your microgreens last after you harvest?
  • Over 125 hours of research and trials packed into easy-to-read guide!

We are now giving this guide away for FREE! Please follow this link to get our microgreen grow guide: Go to our grow guide page!

How I fixed our problem with the microgreens trays breaking & cracking

We grow in our home and are always toting around the flimsy 10″ x 20″ trays around from our soil and seeding area (in the garage) to our shelving unit inside the house. The trays sometimes broke or cracked and then were no longer useful. The trays were also not so nice to look at when they were placed on the grow shelves in our dining room. That got us thinking and looking for a substitute for those ugly, flimsy black grow trays.

Step 7 - Microgreens on seedling mat
Here are some of those ugly, plastic propagation trays most use for microgreens. It’s not ideal to have to look at these in your home.

After scouring the internet, searching on Amazon.com and various other online grow specialty stores, we could not find what we were looking for. So like just like anything else we can’t find or afford, we decided to build our own trays. My wife and I both like dark wood colors (woohoo! we agree on something!) so I decided to create the tray out of wood and stain it.

Luckily, I like to build things out of wood. I have built tables, chairs, planting beds, play sets, the kids’ playhouse and zip-line tree stands so the microgreens tray idea didn’t seem to be a big task…..boy, I was wrong! After several iterations of sizes, cuts and fasteners, I finally settled on what you see in the photos.

IMG_1508
Our stack of wood stained microgreen trays.


IMG_1507
Finished wood trays. I decided using the plastic trays as inserts was the best solution. These are a lot easier to carry. The wooden microgreen trays look much nicer too! I also write on the sides with a crayon on which microgreen is growing. The crayon wipes off and does not affect the wood finish.

So, what do you think? Is this something you would use in your home to grow microgreens? Please let us know!

How to sharpen your chef’s knife to harvest microgreens.

So I have read a bunch of growers’ blogs and watched tons of videos on how to harvest microgreens. I have tried all the different ways you can find out there, but the one I like most is using a chef’s knife like we show in our “Harvesting Microgreens with a Chef’s Knife” video.

This method of harvesting microgreens only works if your knife is super sharp! Otherwise, the knife will pull on the stems of your greens and you will end up with soil in your harvest. Clumps of soil in your harvest means you will have to rinse your microgreens before you sell them which means more work and more hours wasted! We are all farmers running on a tight budget and every precious minute counts!

So, here is a not so great video showing me sharpening my harvest knife with a Work Sharp (link below). This is the quickest way I know how to sharpen a knife effectively and quickly. I added some commentary at the end to explain the settings on the Work Sharp and the best way I found how to use it.

Again, I hope this video helps and I plan on getting better at these as 2018 progresses. This is my first attempt at videos so I appreciate you visiting our page and supporting our cause! #growyourown #localproduce

Cheers!

How to harvest microgreens efficiently!

Here is a quick video showing how we harvest our microgreens with a butcher knife. I have read blogs and watched videos that tell growers they need to spend hundreds of dollars on a knife to harvest your greens this way…….I say “No Way!”

Most microgreen farmers are running a bootstrapped business and don’t have hundreds of dollars to spend on a fancy chef knife. This is not necessary! Below is a link to the knife I use from Amazon and I will also post a video showing how to sharpen this knife with the sharpener I use.

Anyhow, I hope this video illustrates how I harvest microgreens and is helpful for your farm. Done right, you will not need to wash or rinse your greens before giving them to your customers which should save you hours harvesting that should be more money in your pocket! Please feel free to comment and let me know what else you all would like to see or hear about!